To get started, you’ll need:
- A free Rownd account
- A Rownd app key
- Add allowed web origins
Installation
Automated installation
-
Open your WordPress site’s admin dashboard. This is usually something like
https://mycompany.com/wp-admin. - Navigate to Plugins > Add new.
-
In the text field labeled “Search plugins,” type Rownd and wait a moment
for the search to load the results.\
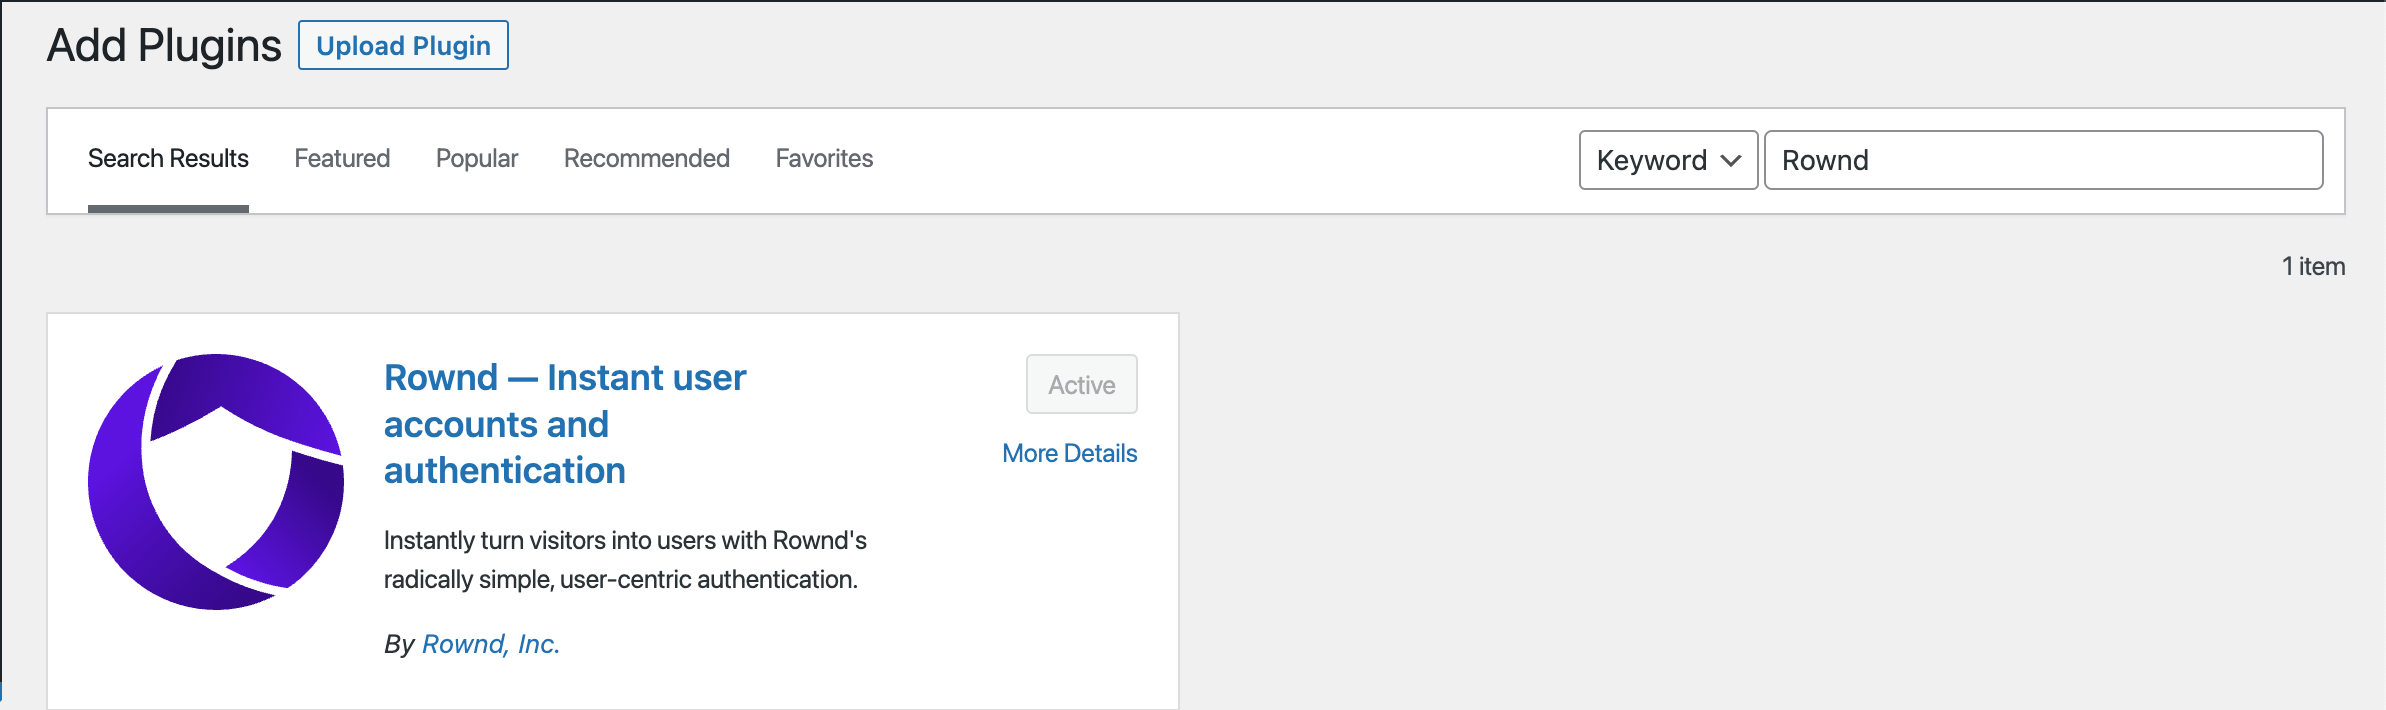
- Click Install then click Activate.
- In the sidebar, click Rownd followed by Settings.
-
Enter your Rownd app keys obtained from the Rownd platform
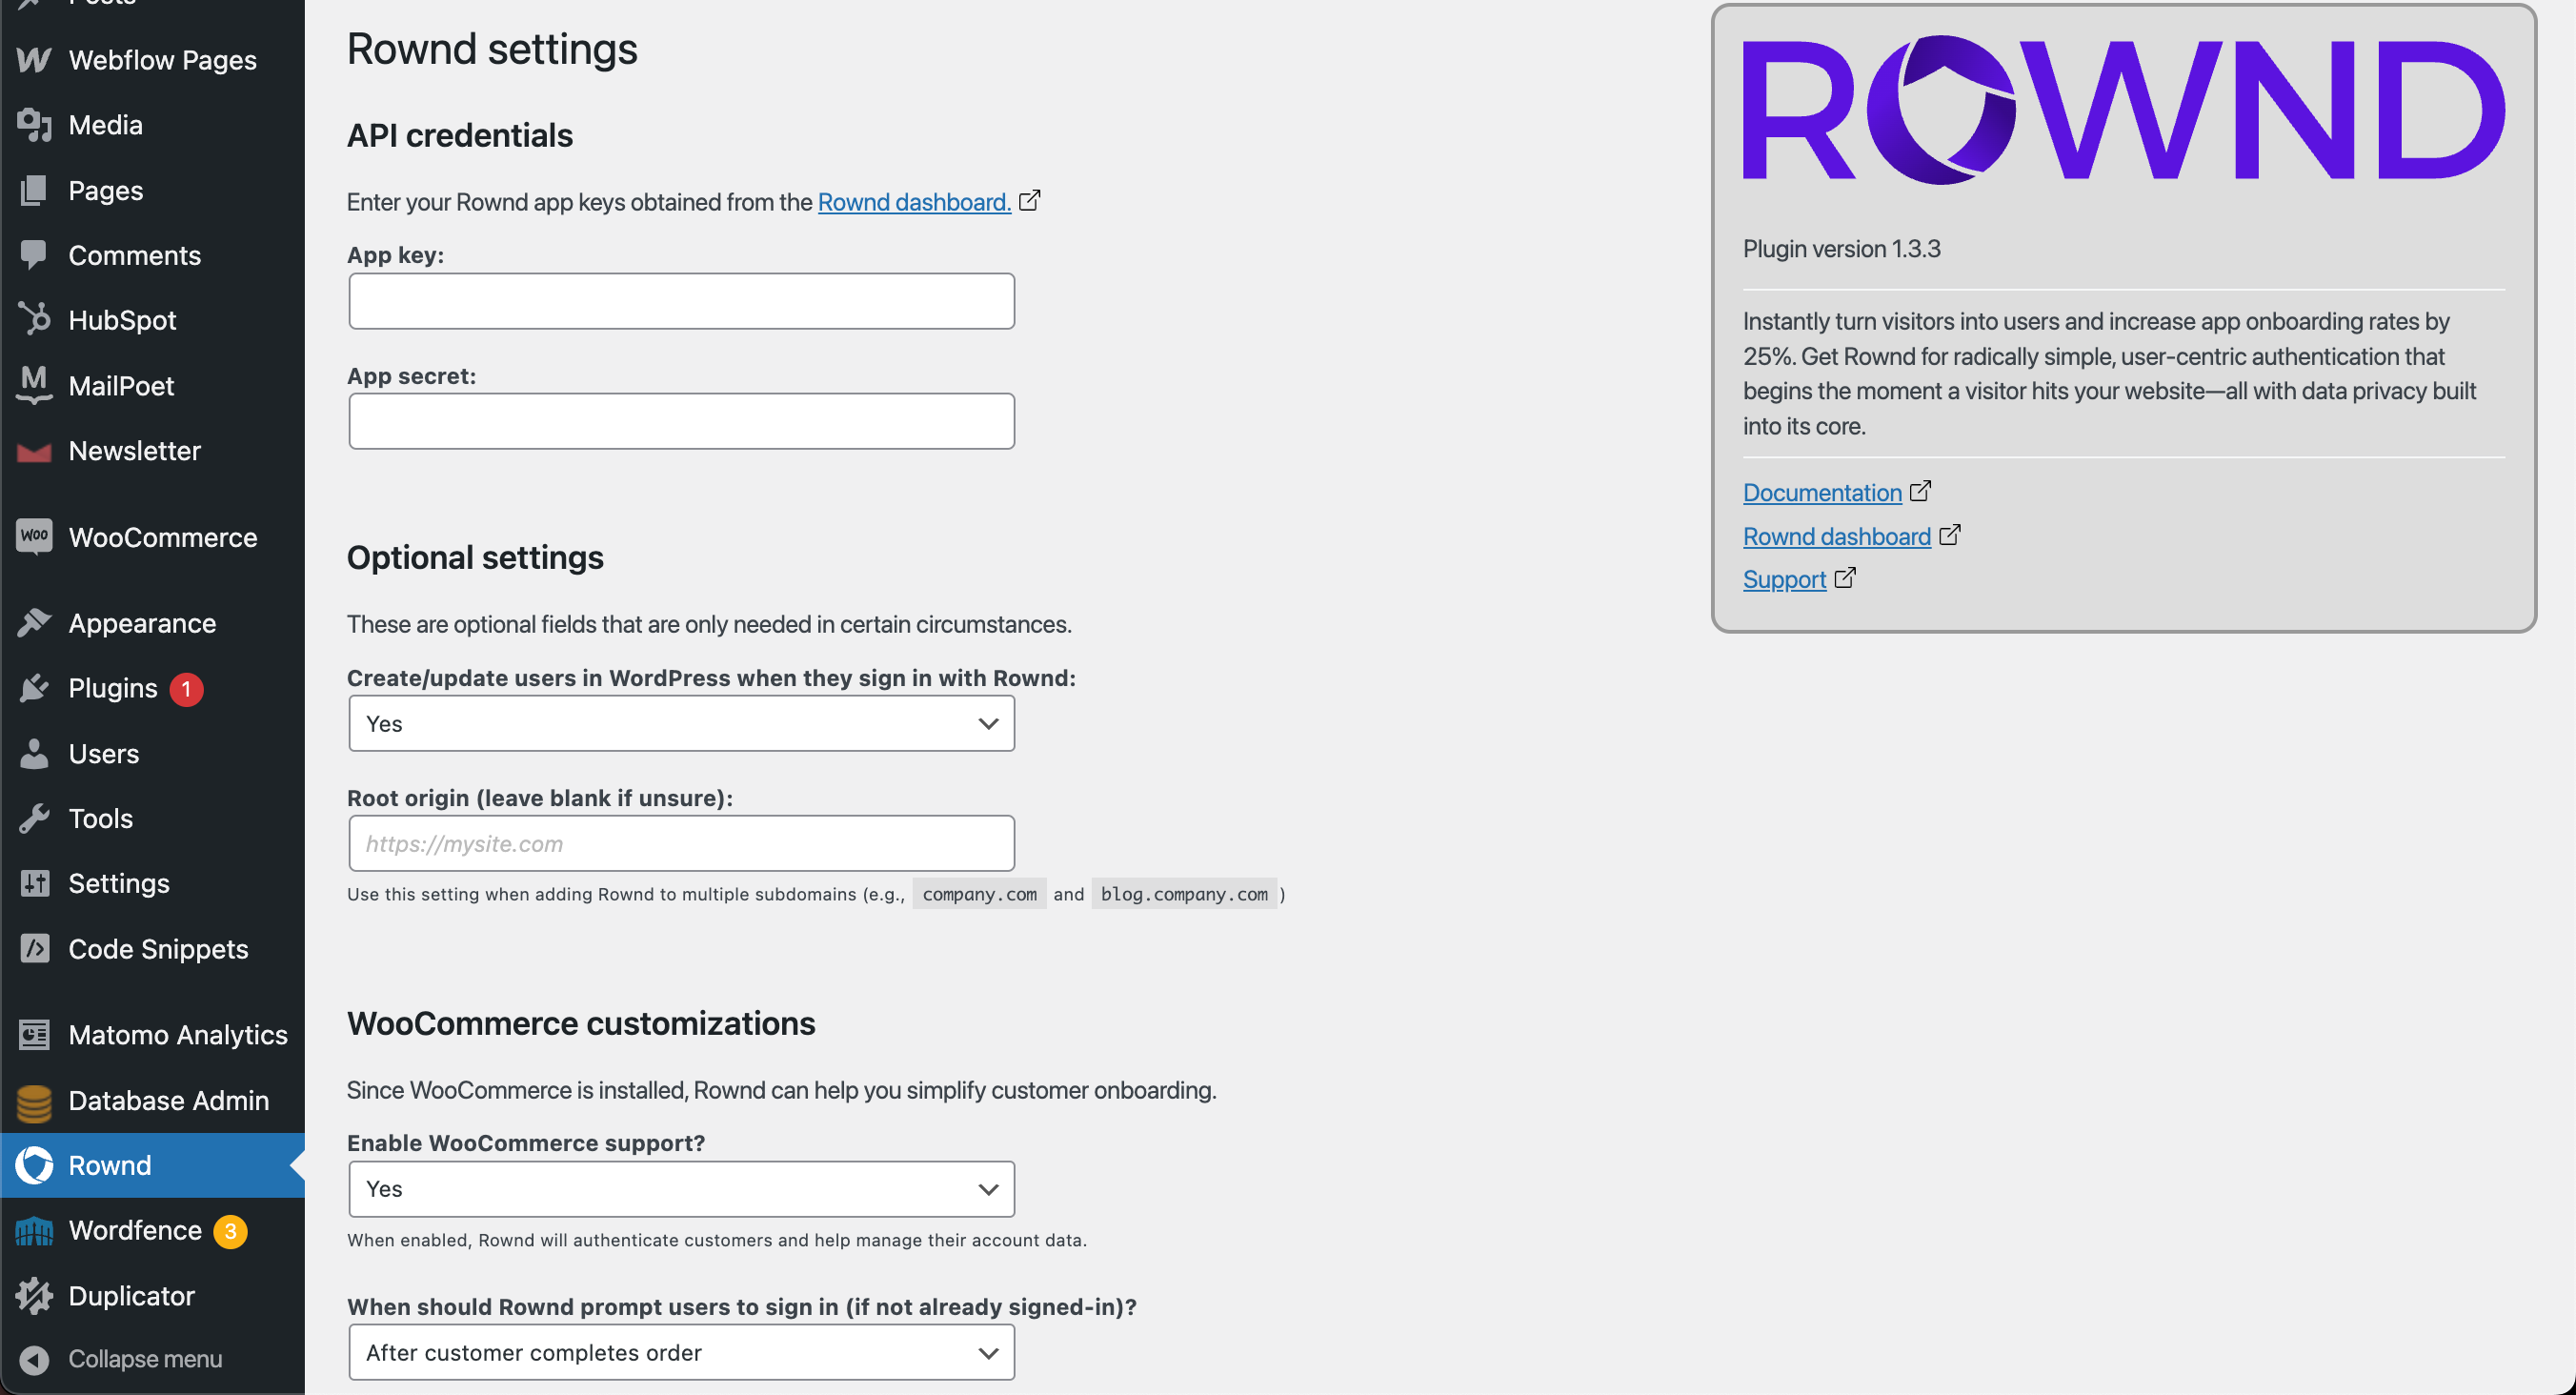
- Click Save settings
Manual install
- Visit the Rownd plugin details within the WordPress plugin directory.
-
Click Download to grab the latest plugin
.zipfile. -
Extract the contents of the file into a folder called
rownd-accounts-and-authenticationwithin yourwp-content/pluginsfolder. The naming here is important! -
Open your site’s WordPress Admin dashboard, navigate to the plugin list, and
click the Activate link in the row entitled “Rownd Accounts and
Authentication.”\
